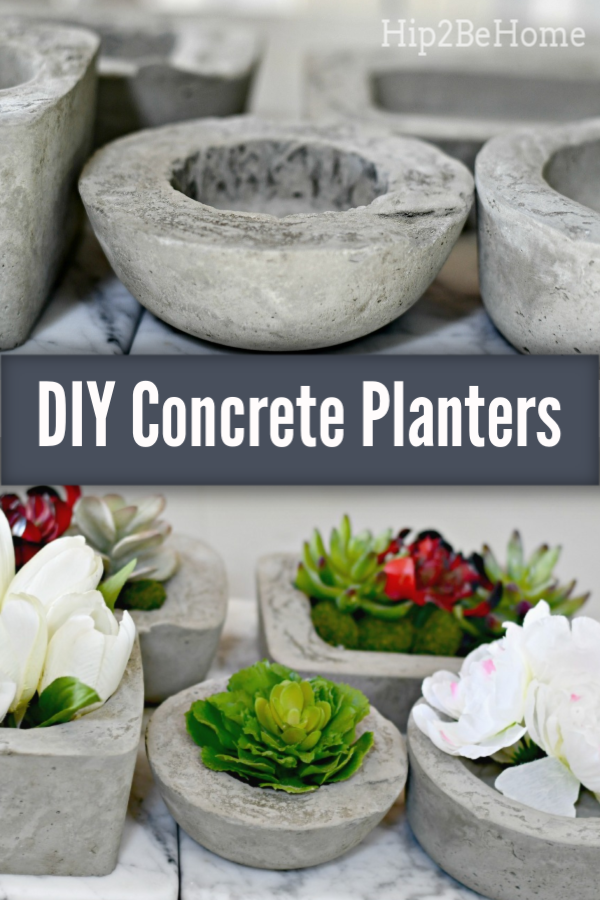
These Beautiful DIY Concrete Planters Cost Less Than a DOLLAR to Make!
Want a fun and frugal DIY home decor project?
You’ve gotta try making your own pretty planters using a cheap bag of concrete mix! I love when a project turns out super cute and is also very easy on the budget! 🙌
If you have some patience and a DIY spirit, you’ll love making these planters and will want to experiment with different shapes and sizes. This was my first time making concrete planters, and I can’t wait to make more!
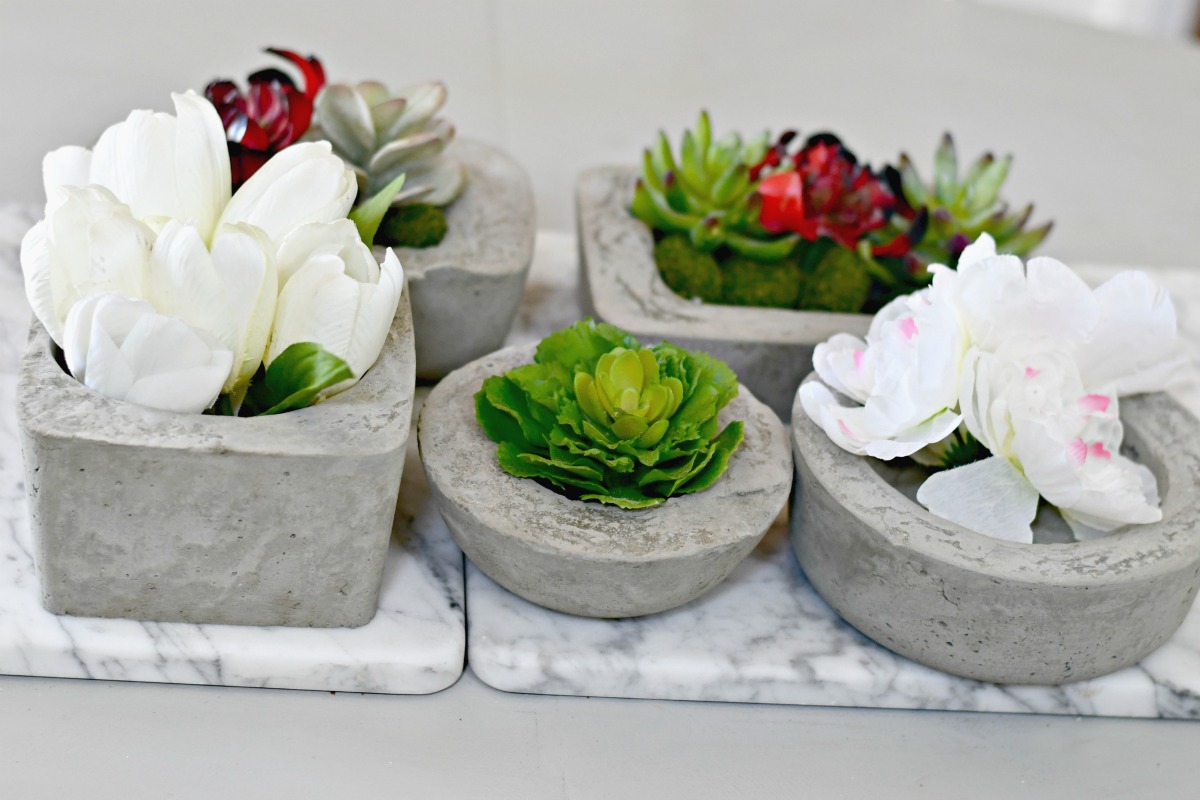
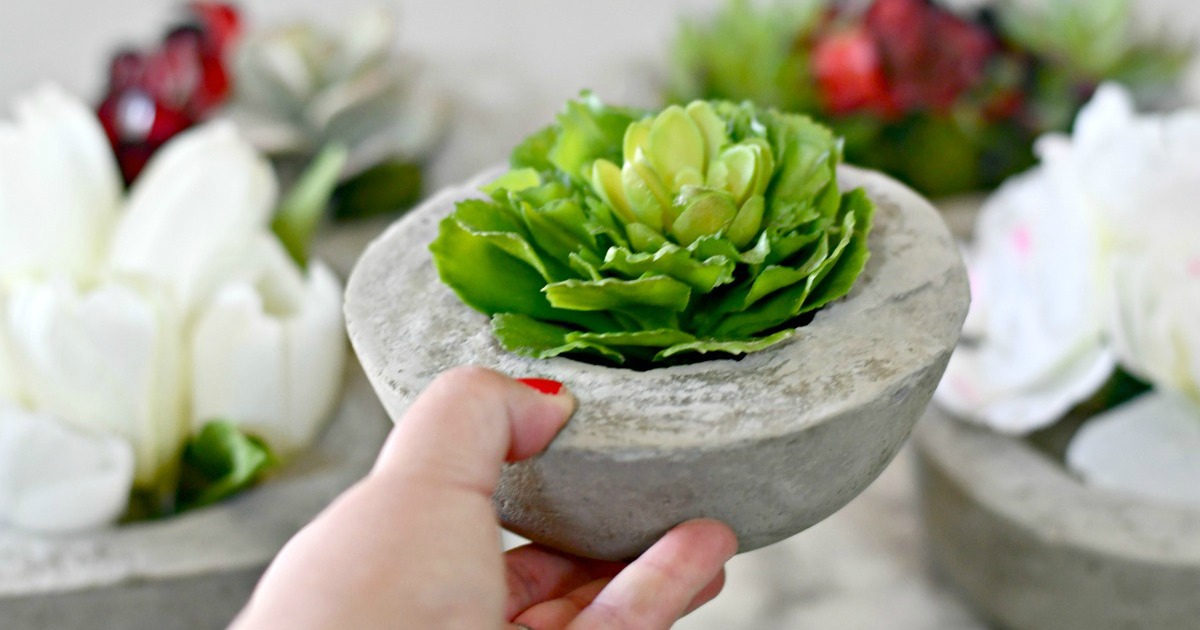
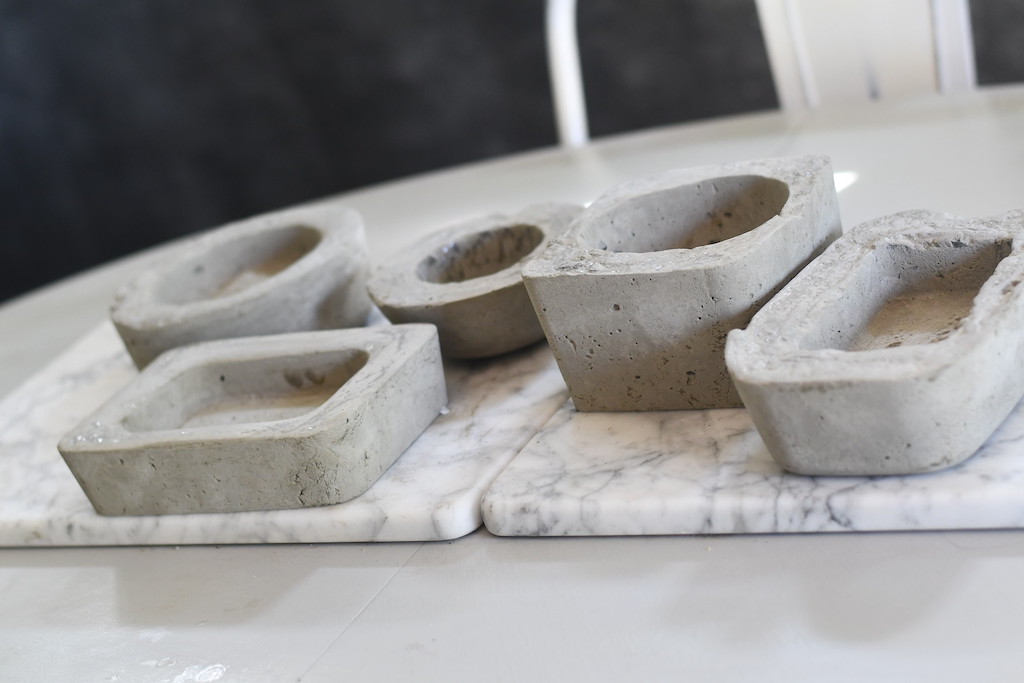
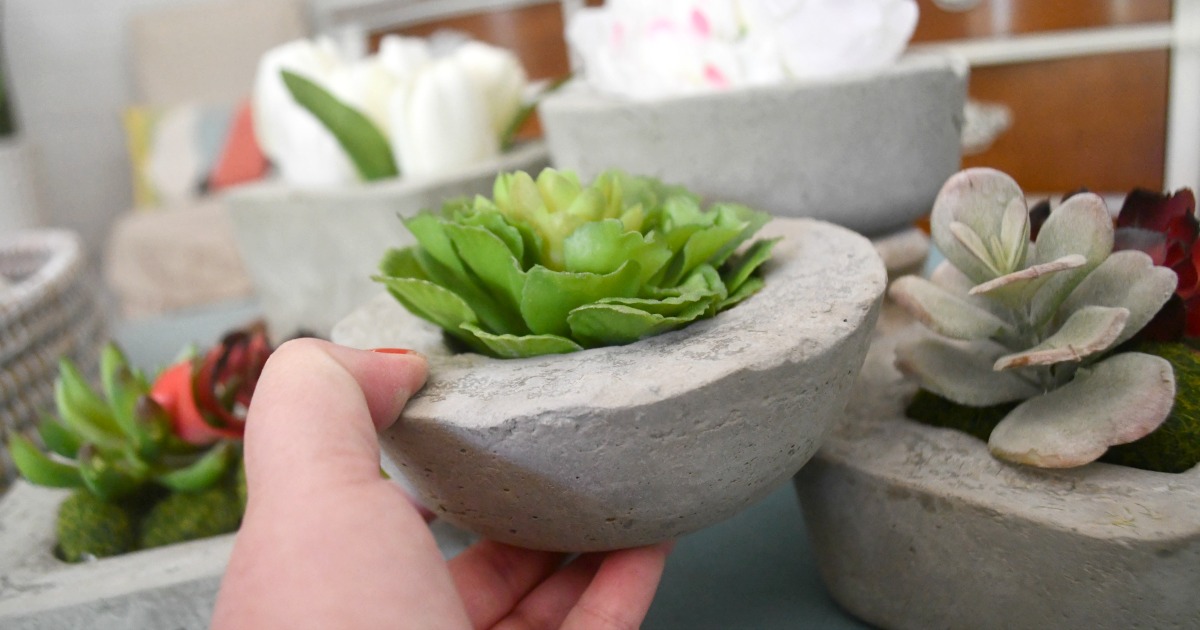
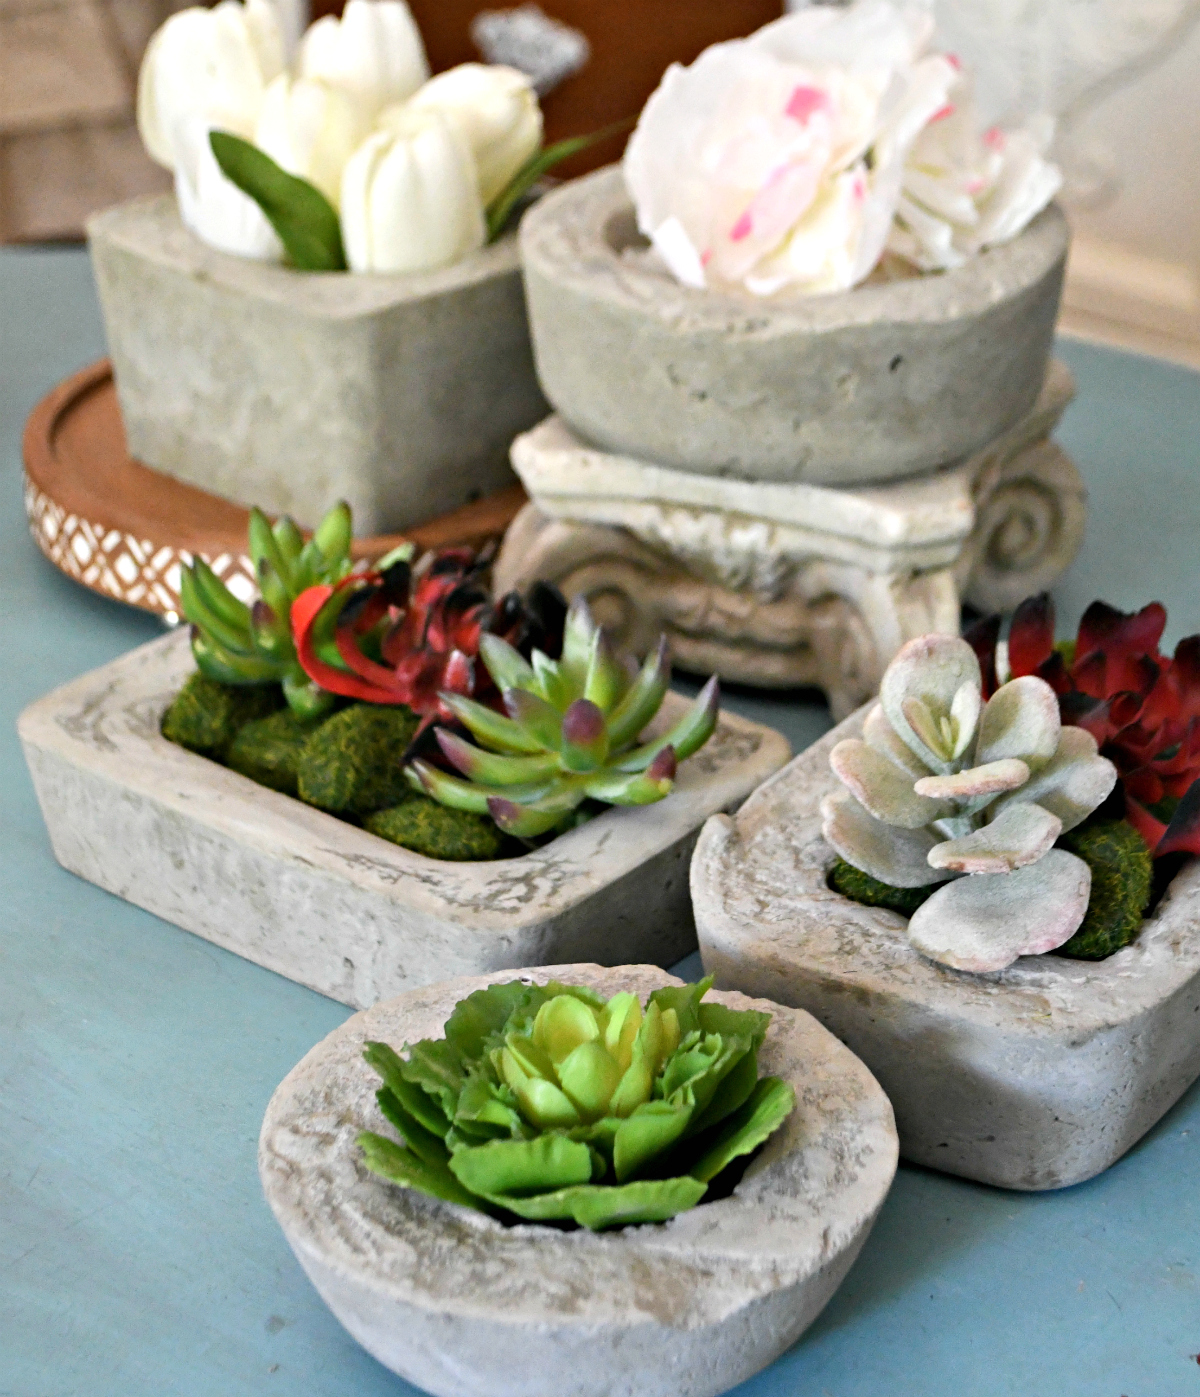
I’m obsessed with how these concrete planters turned out!
They look so on trend and are gorgeous. In my opinion, these DIY planters would make such a thoughtful gift for Mother’s Day, Teacher Appreciation, frugal wedding decor, and also a gorgeous way to beautify your own space.
And really, these don’t have to be planters exclusively. Other ideas would be to use them as candle holders, to put your jewelry in, or even as a soap tray for the sink. The possibilities are endless!

Grab some inexpensive supplies!
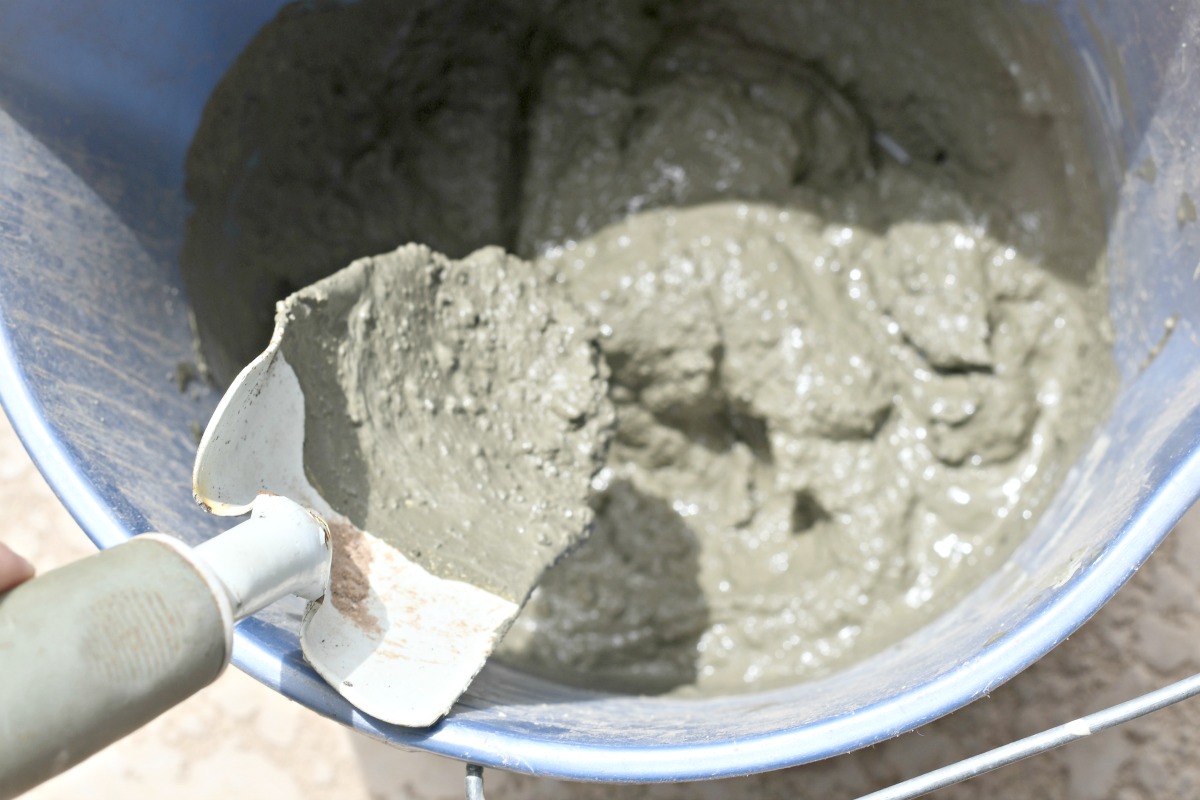
I bought an entire 95-pound bag of concrete mix for about $12, and I have most of it leftover for other projects. I asked the folks at The Home Depot which concrete to use for planters, and they directed me to this Portland cement because it’s a finer texture, without the sand and gravel, which produced the look I was going for. Just be sure to take someone strong enough to lift it, as I had to put out a mayday call for hubby to come to rescue me and my heavy concrete mix! lol
Look around the house for containers!
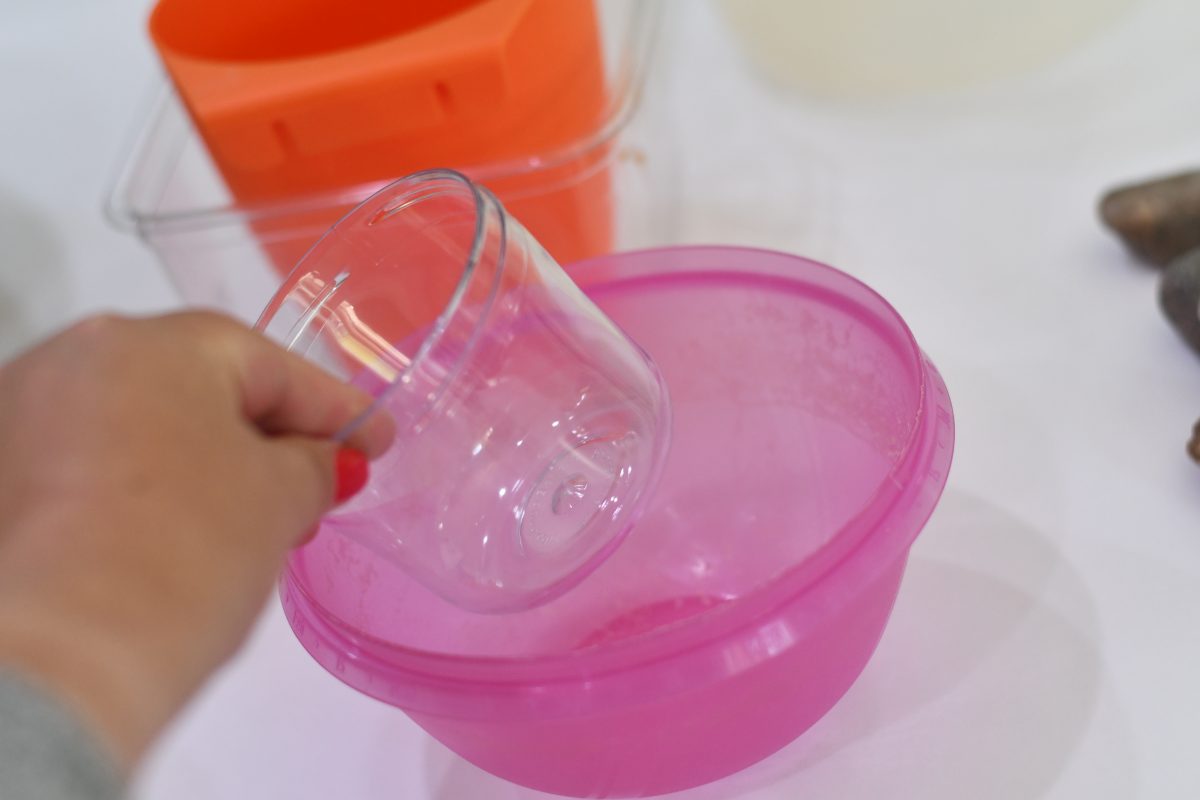
You’ll need to find an item, and then a smaller item to fit inside to make a mold for each planter. For the molds, I used old plastic Tupperware and food containers. These are containers I would not use again for food, so make sure to pick molds you wouldn’t miss.
The thrift store or Dollar Tree may be good places to look for molds if you can’t find things around the house. Consider using a milk carton, and re-purpose miscellaneous food packaging like sour cream tubs that you could cut away and not worry about destroying would be great, too! Just make sure the mold is sturdy enough to hold its shape when the concrete is poured inside.
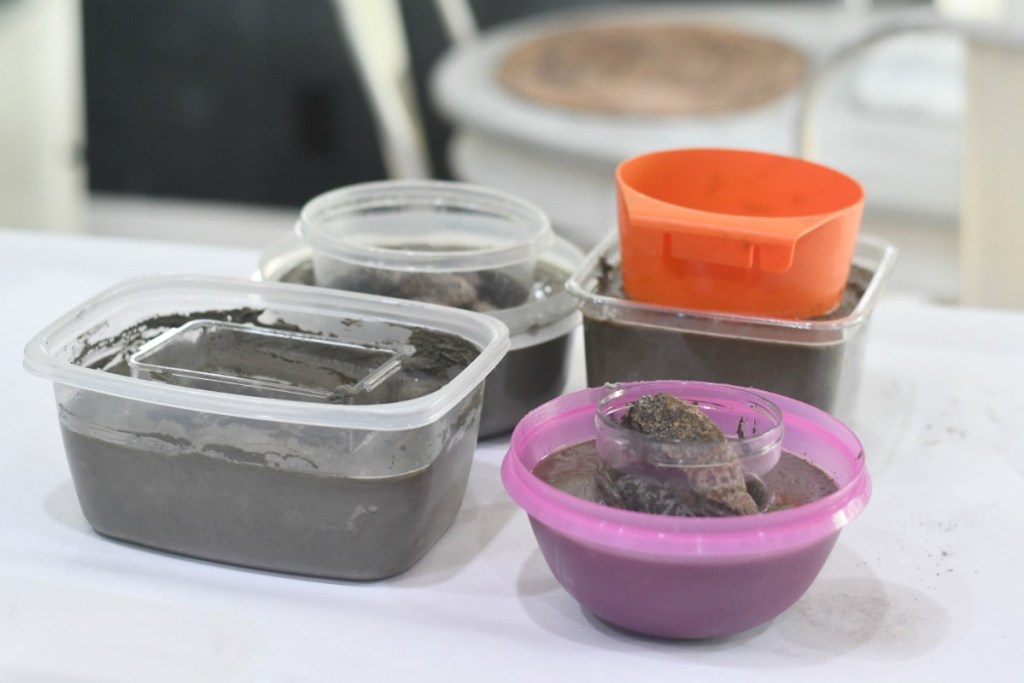
The process is pretty simple but kinda messy, so consider doing this outside.
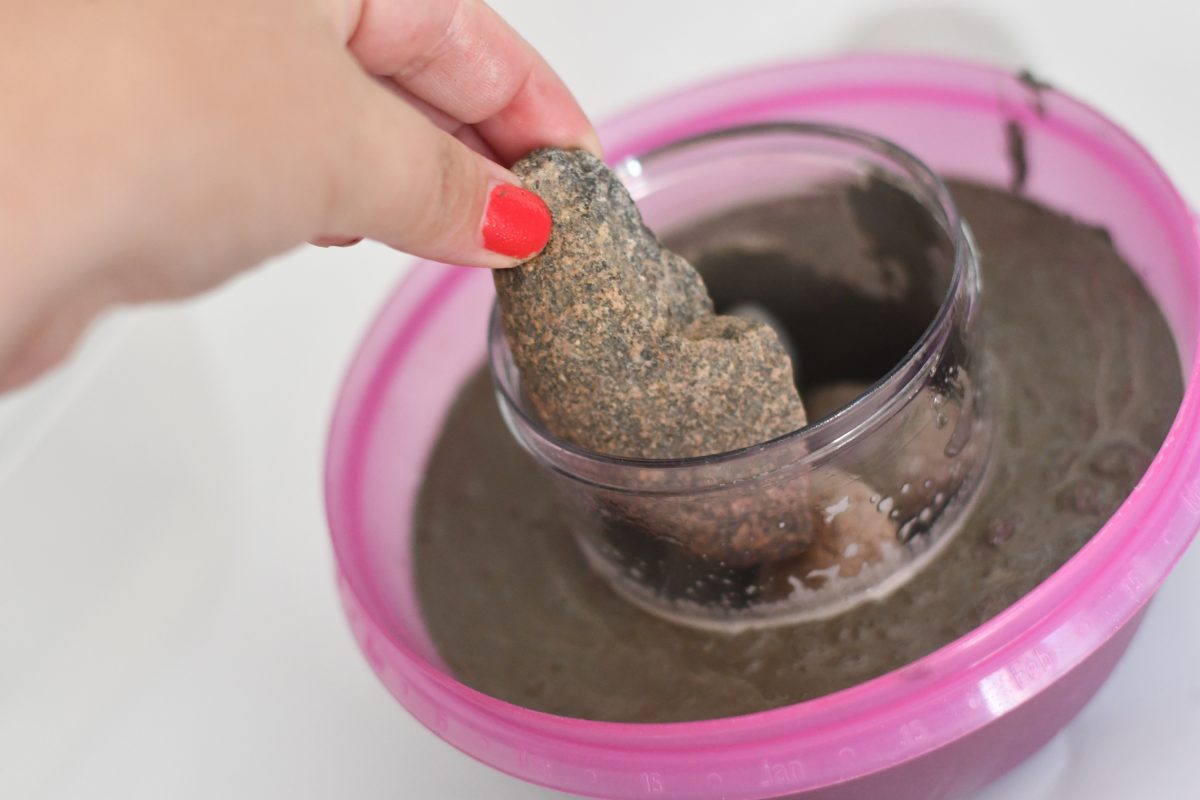
We are mixing the concrete in a bucket with a shovel, then pouring the mixture into a container, and then stacking the smaller container on top to make a planter mold. You’ll want to grab some rocks from outside to place in the smaller bowl or container to weigh it down a bit.
Once dried, overnight, or for about 24 hours, you’ll notice that the top rim will be shiny. I rubbed the top with sandpaper to rough it up a bit so it wasn’t so shiny, but that is personal preference.
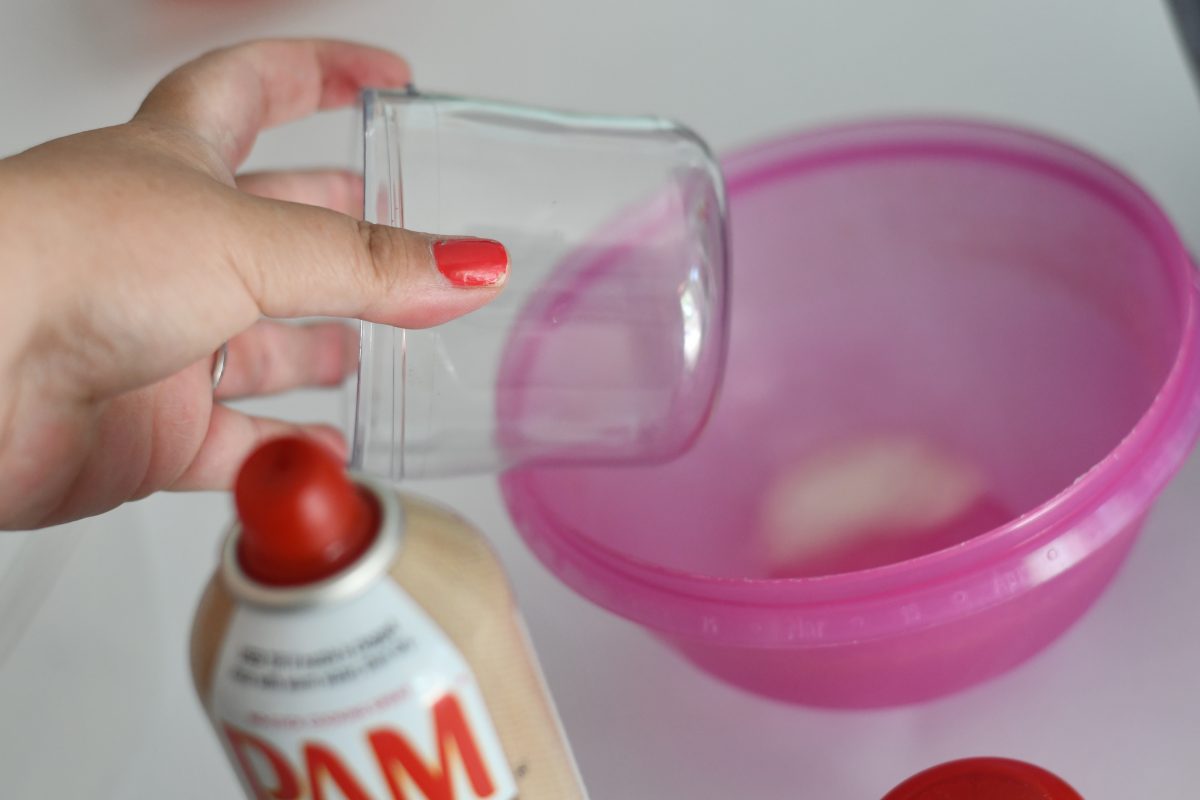
Hip Tip: Make sure to spray oil or use a paintbrush and cooking oil to cover molds before pouring concrete mix. This step is a MUST if you’d like your dried planter to easily come out of the mold. I had one that I must have not oiled, and it did not want to come out at all.
DIY Concrete Planters
PrintSupplies Needed
- Portland concrete mix
- bucket
- water
- shovel or trowel
- molds - 2 plastic food storage containers, one bigger and one smaller
- spray oil, or cooking oil and a paint brush
- rocks to hold top mold down
- sandpaper
- faux flowers or succulents, as desired
Directions
1
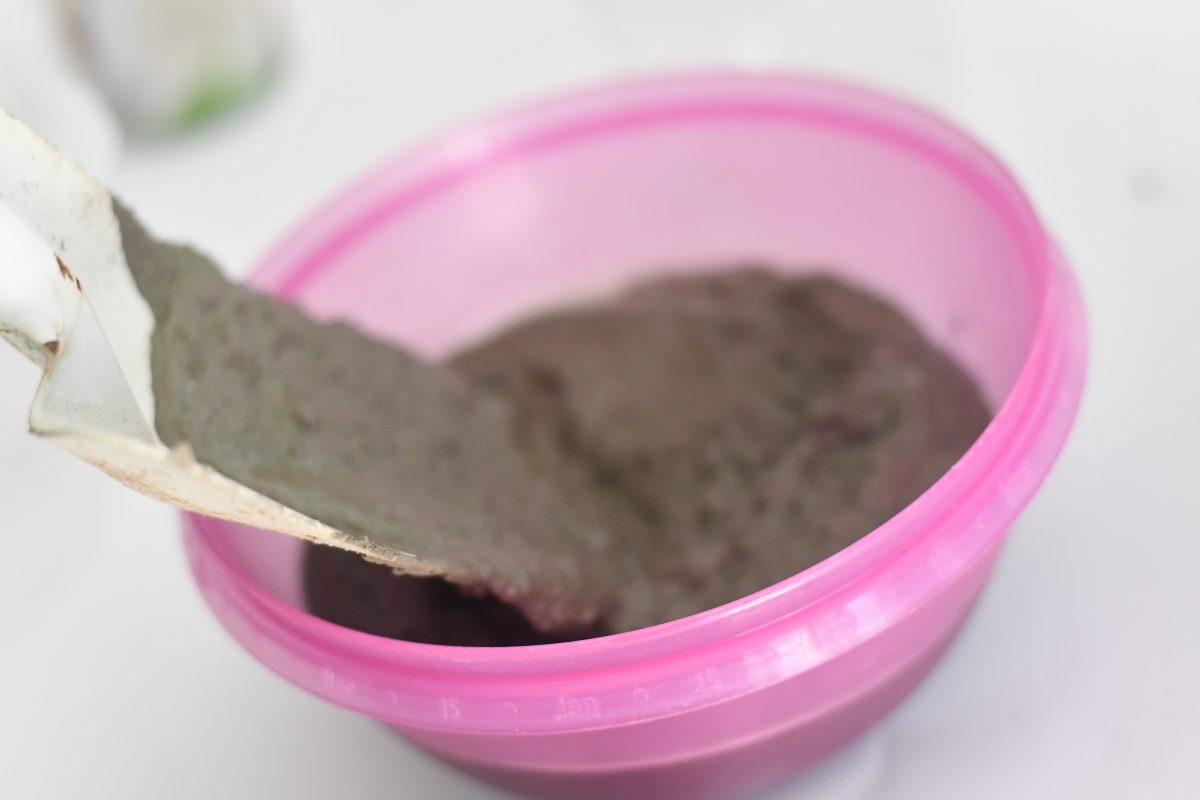
To a bucket, combine concrete mix with water. Start with a 4:1 ratio of mix to water. (I filled a disposable red cup four times with concrete mix, and once with water, then mixed with the shovel). You may need a bit more water, so add a couple of tablespoons at a time until you get a thick oatmeal texture.
2
Find a bigger- and smaller-sized plastic bowl or container to use together as a mold.
3
Spray the inside of larger container and the outside of smaller container generously with cooking spray oil.
4
Fill the larger container with the prepared concrete. Level it out by gently holding sides of the container, and move it in a back and forth motion a couple of times on the counter.
5
Press the smaller container in the middle, and weigh it down with a few heavy rocks. Let the whole thing dry overnight or for about 24 hours.
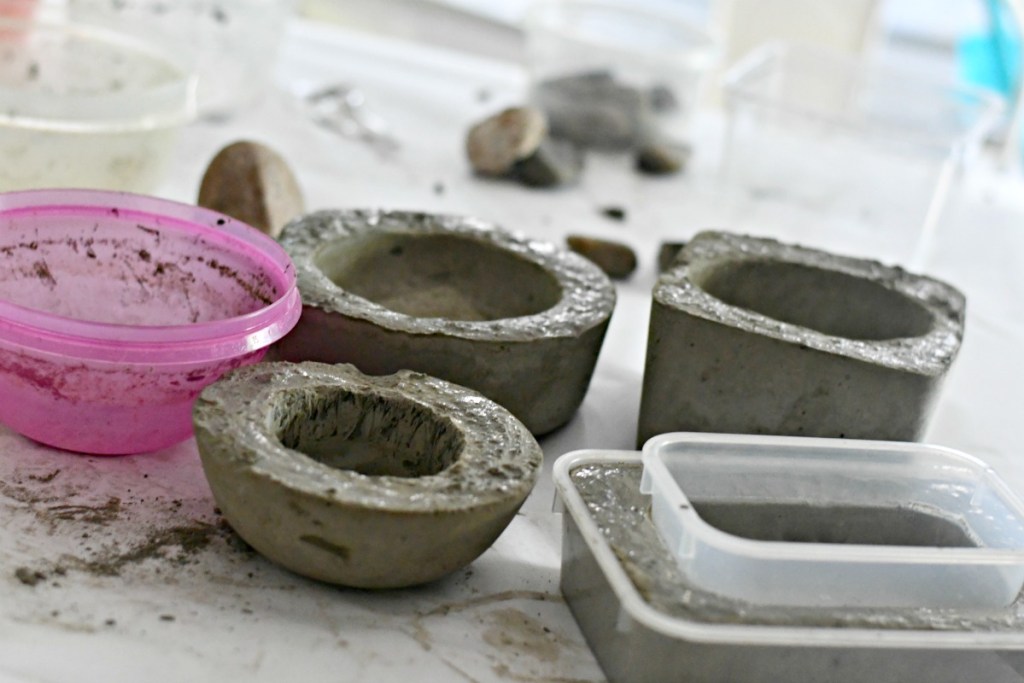
6
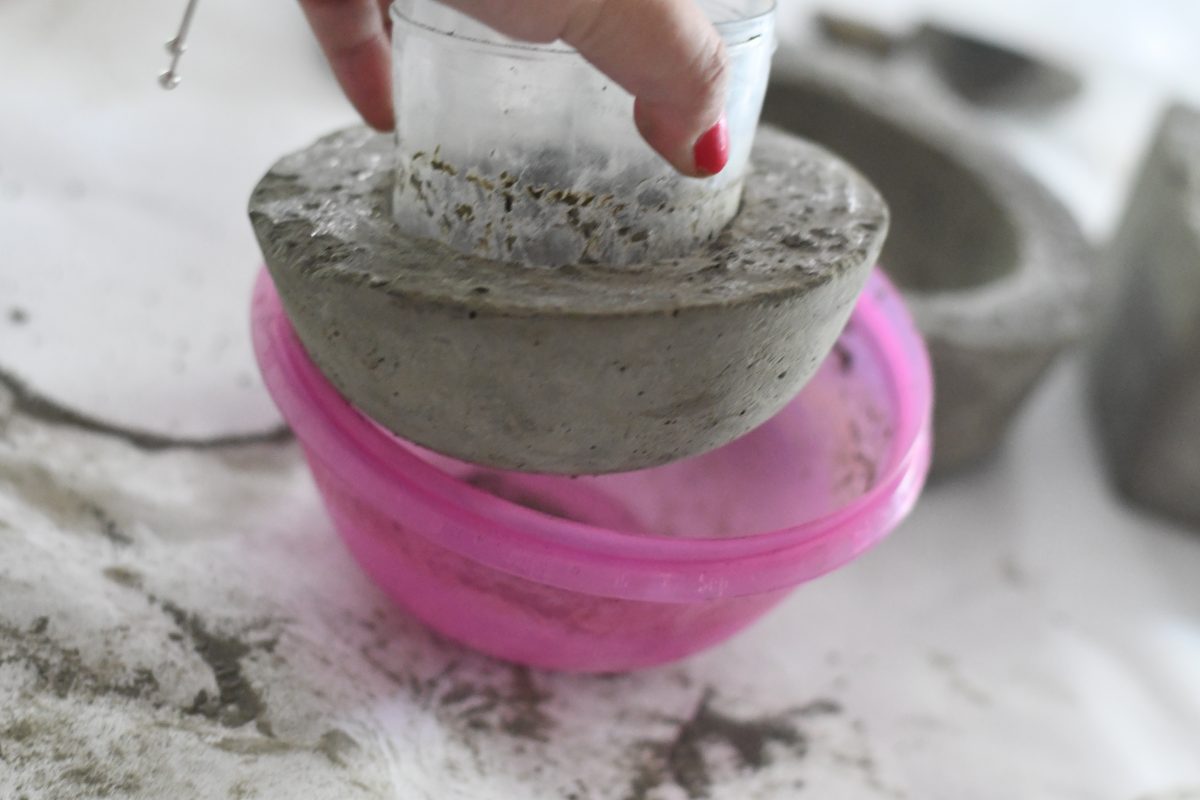
Once dry, remove the molds to reveal your planter. Because you’ve oiled it well, they should come out rather easily, or you may need to turn over and tap the bottom.
7
Rub the top rim of the planter with some sandpaper if desired to get rid of the shiny texture. It’s personal preference, but I like the sanded look.

8
Add any faux flowers or succulents as desired.
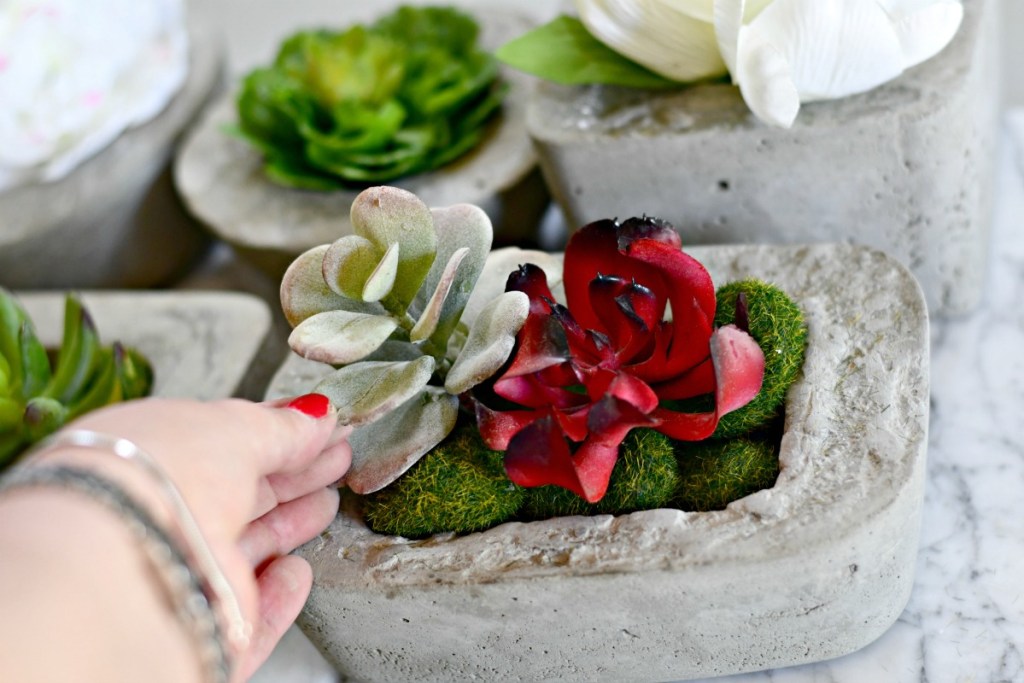
Last step: Fill your planters!
This is the super fun part! I pretty much raided my stash of faux flowers and succulents to put together these examples. You can find inexpensive faux succulents and the rock shaped moss I’m using (above) at Dollar Tree, which looks super stylish in this cement planter!
Hip Tip: Consider adding felt pad bumpers to the bottom of your planters to protect any unwanted scratches to surfaces.
Hip Tip: I’m confident you’d be able to plant living succulents in these planters if desired; however, you may want to use succulent soil and place rocks at the bottom for drainage before adding soil.
Don’t want to make your own concrete planters?
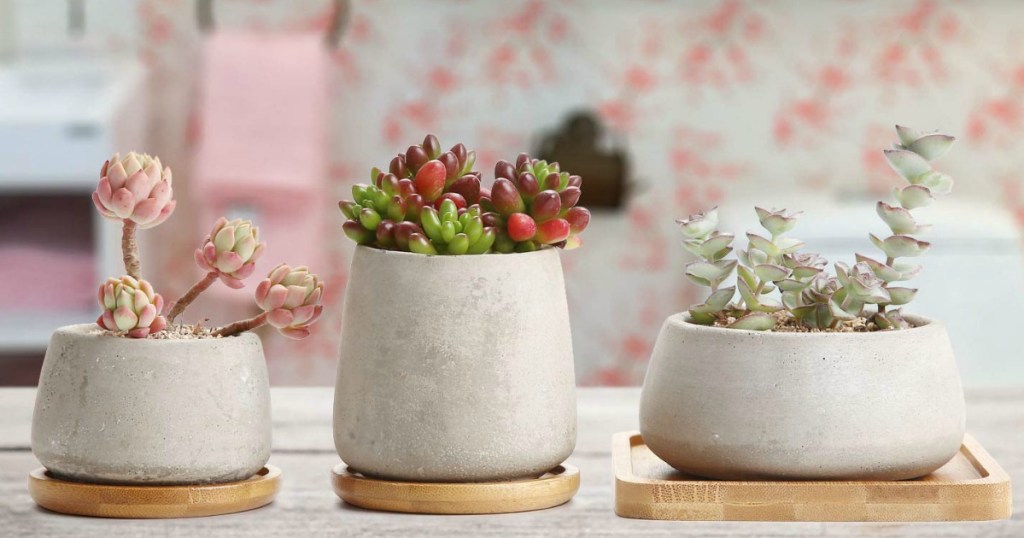
Consider these options:
- Project 62 Rectangular Concrete Planter Collection via Target.com
- Cement Succulent Cactus Pot Set via Amazon.com
- SONOMA Indoor / Outdoor Square Cement Planter via Kohls.com


They are just lovely!
Thank you so much Michi!
Hi Lina. I love these! Did you sand down the tops to make them smooth?
Yes I did. As they dried they were pretty smooth actually. But they dried shiny – so that’s why I sanded. Thanks Laurie!! ❤️
I bet these would also look awesome with some concrete pigment added for a different color scheme! This gives me some great ideas for gifts and my own home. Thanks!
Yes such an awesome idea! Thanks Dawn!
Those are amazing! I really like the homemade ones, they look great!
Thanks so much corina!
Can u use something to color the concrete as you mix it?
These are GORGEOUS! I WILL definitely be making!!!
Thank you so much! It looks like there are concrete pigments online you can mix in with concrete to color! Such a fun idea – is like to try too!
Super cute!!!
Thanks so much kelly!
These are so cool! I love them and I think this would be a fun one on one thing to do with kids (depending on the age) and you could even make them fancy but putting marbles or glitter on the outside – so many possibilities!! 🤩
Yes I love that idea!! So fun – thanks so much!
I am planning to do a version of this over the long weekend, I am going to put these on a cut tree branch while it is wet to make garden mushrooms,
Oh that sounds fun! Thanks for sharing ❤️
I made these over the weekend with all the kids and Grandma. They turned out so phenomenal! We use different shapes and even added glass beads to the top of some for decor and small rock Pebbles on others. The Rock Pebbles ended up being my favorite! I even used a large square flat plastic container that I brought home leftover food from a restaurant in and it worked awesome too! I was afraid that they would be difficult to take apart the next day when they were dry but it was super easy. We were all so excited about it we went out and bought plants and plan on making more of them to give away:). Thanks for the fun project idea!
How neat! I love that you added beads and pebbles! Thanks a bunch for letting us know how yours turned out!
That’s so AWESOME! I’m so glad Elle!