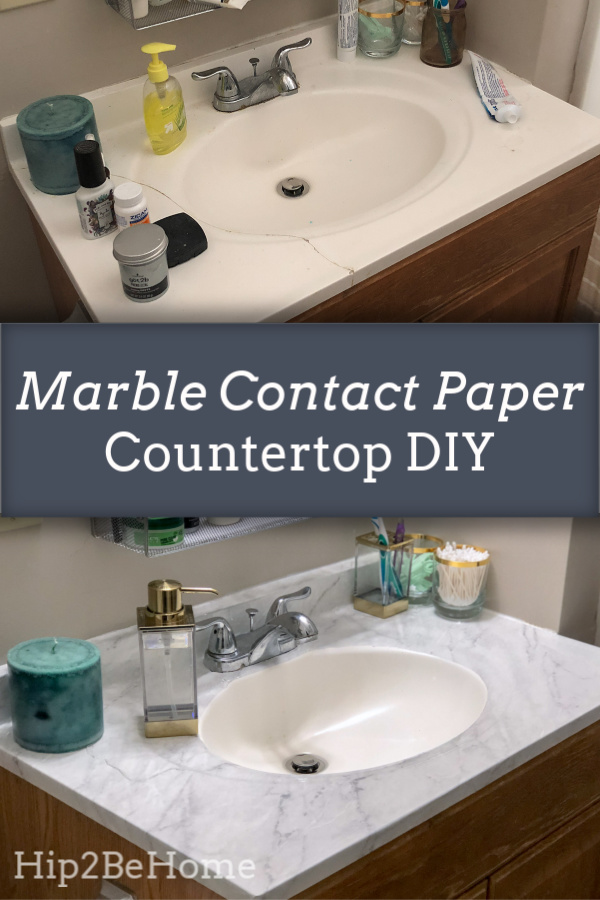
Tips to Fix an UGLY Countertop on a Budget
Rental-friendly countertop fix? Yes, please!
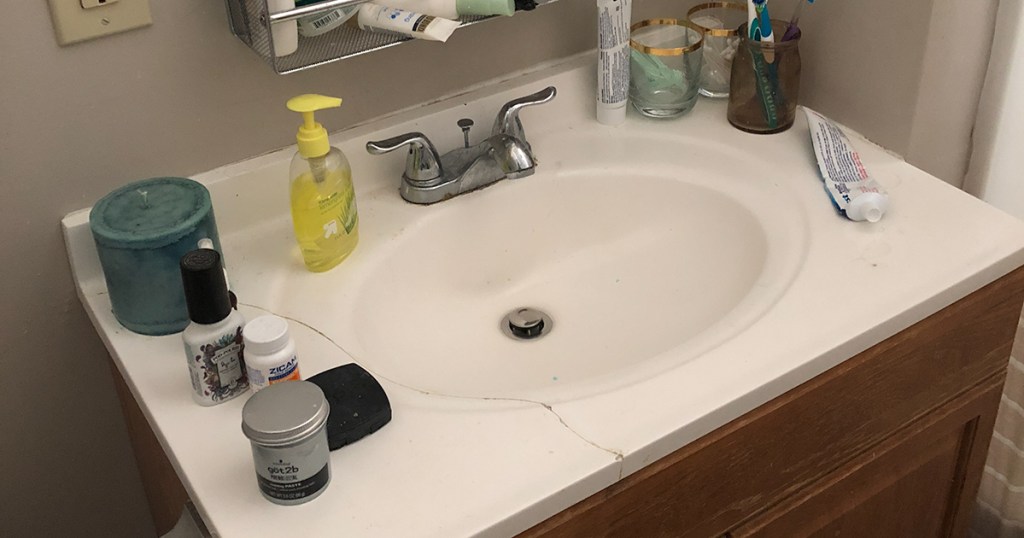
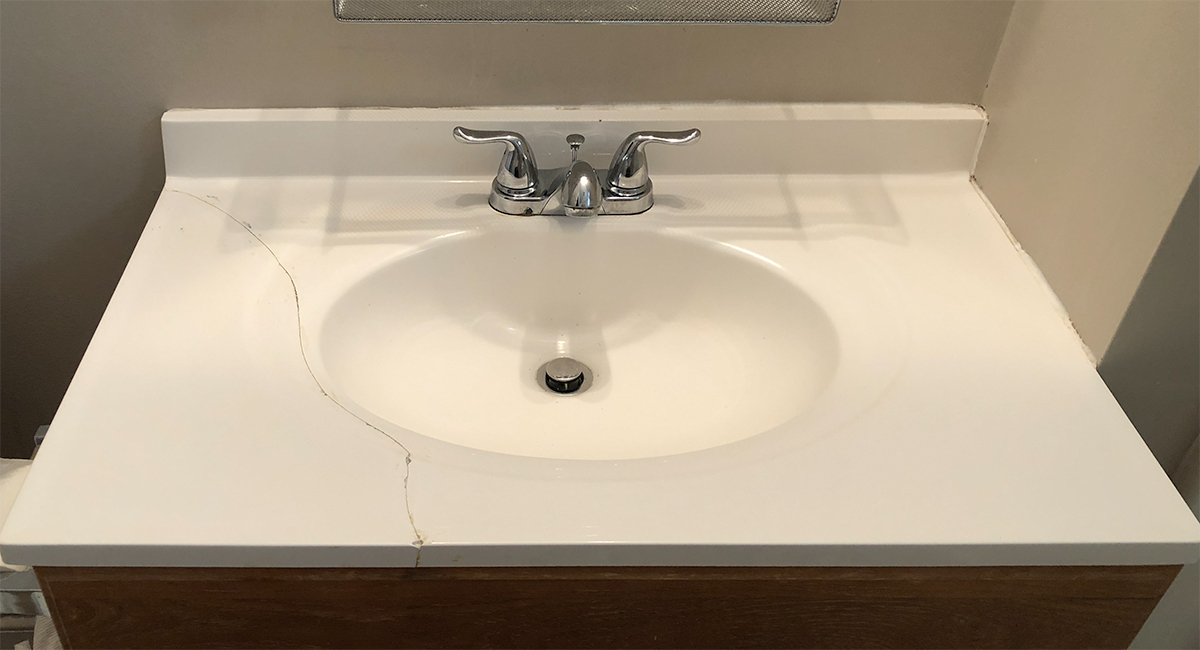
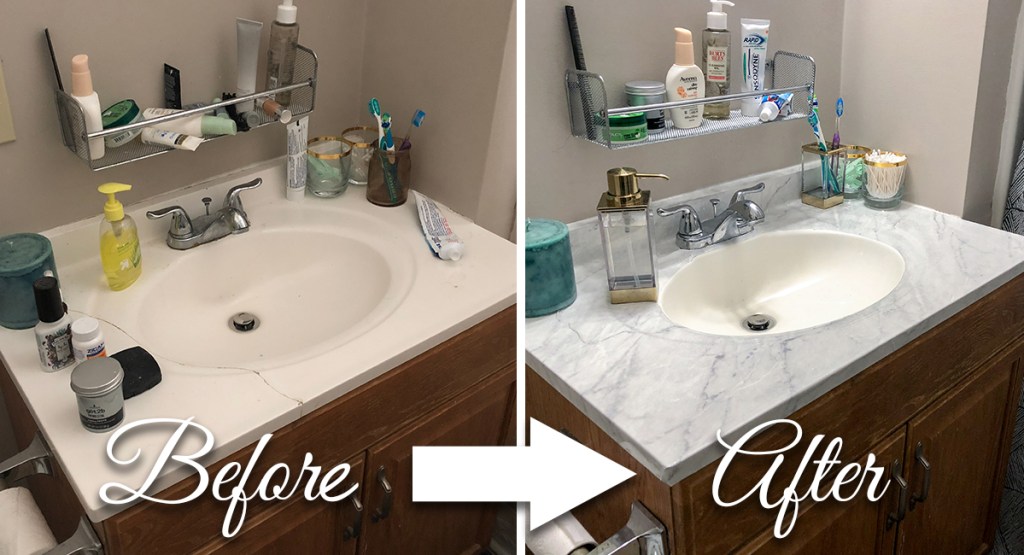
Because I’m saving for a house, I budget almost 0% of my income for my rental and save a majority for my down payment. That said, the super ugly crack in the bathroom countertop (below) was wearing on me.
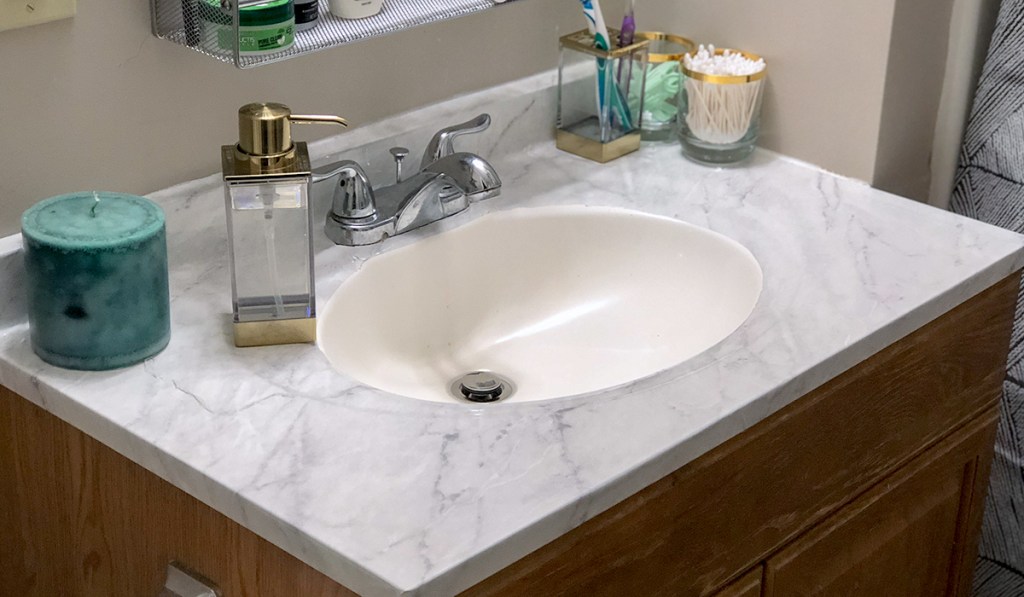
After the countless DIY faux marble pins I’ve scrolled past on Pinterest, I finally decided to give “refinishing” the countertop a try. Please note I’m NOT a pro-DIYer (Lina is your gal for that 😉), but I do love fun projects. Please also note, I wouldn’t categorize this DIY as fun, but I would do it all again because the countertop actually turned out decent, as you can see in the picture below!
Not only did the result turn out better than I expected, but it was also MUCH cheaper than replacing the sink.
Hip Tip: Don’t have an X-acto knife? Ask your friends. Chances are, one of them will have one you can borrow for this project.
Tips to Fix an UGLY Countertop on a Budget
PrintSupplies Needed
- Marble Contact Paper
- Cleaning Supplies (all-purpose cleaner, bleach, vinegar, alcohol)
- Measuring Tape
- X-Acto Knife
- Scissors
- Flat Plastic Putty Knife
Directions
1
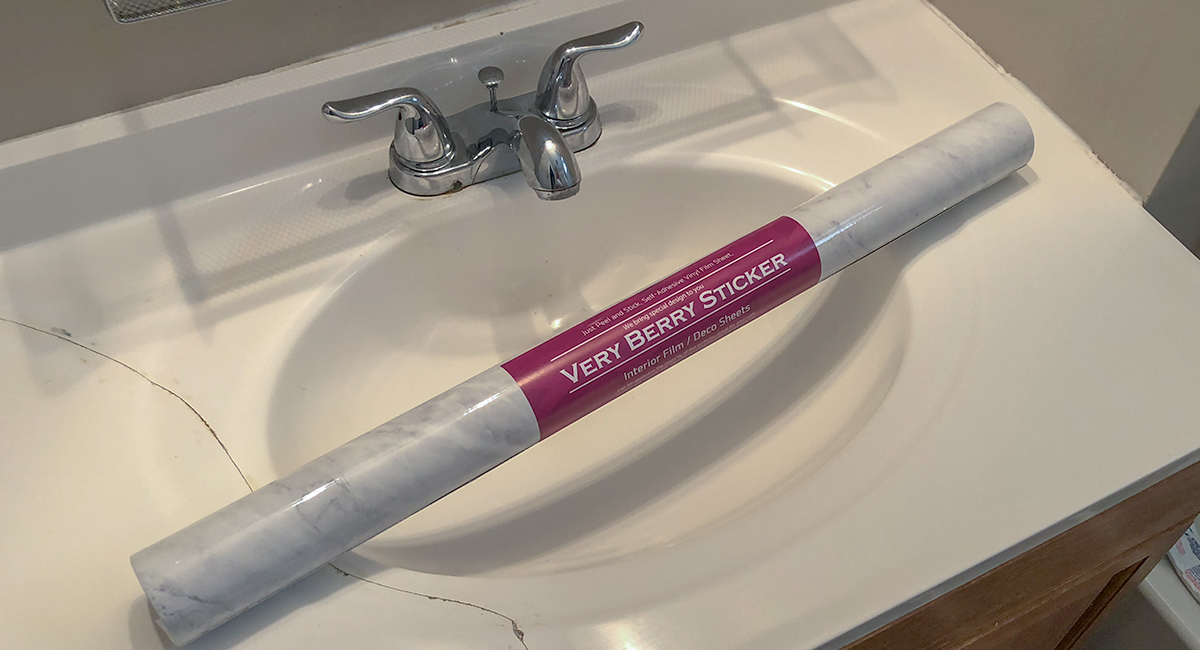
Choose a quality countertop cover.
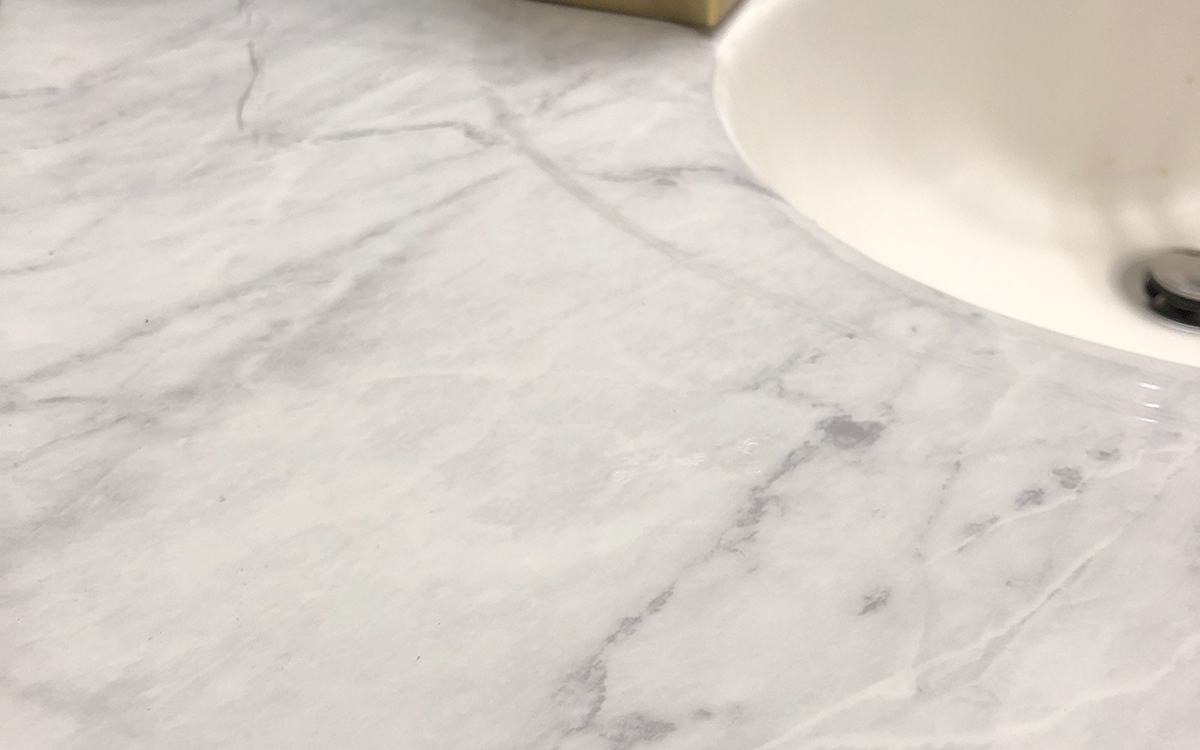
I chose this marble contact paper by Very Berry Sticker because it had great reviews, seemed very durable, and had the most realistic looking marble print. Even though it was relatively inexpensive, I didn’t want the end product to look cheap. This paper turned out to be seriously thick, has a rich, glossy sheen, and looks so natural – unlike the other pixelated marble papers I’ve seen.
2
Clean, clean, clean! And if you think it’s clean, clean again.
No, seriously. Clean once, then do it again, and then even a third or fourth time. My cleaning process involved an all-purpose cleaner, then bleach, then vinegar, then alcohol (NOT mixed, and I gave the countertop some downtime between each cleaning product). There was no method to my madness; I just really wanted to make sure it was super duper clean.
3
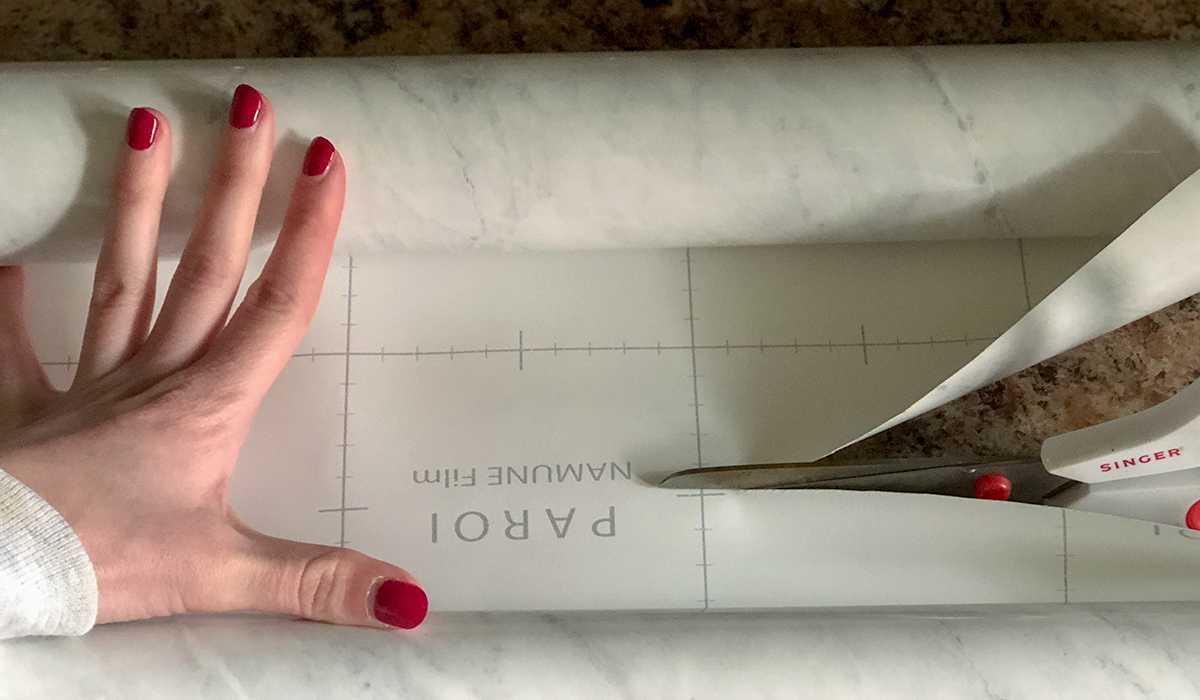
Measure and cut along the grid for straight lines.
Measure your surface with a tape measure to ensure you have enough paper to cover the entire surface–including the backsplash if there is one. The paper has a grid on the back to help cut straight lines, which is super necessary.
4
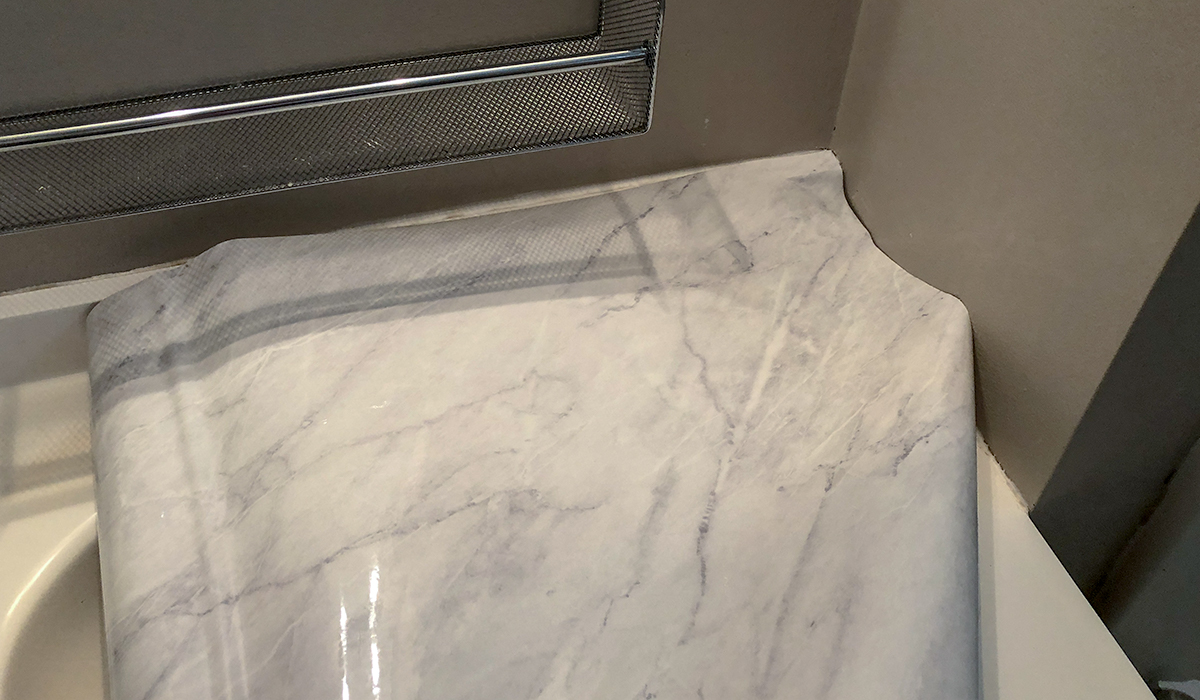
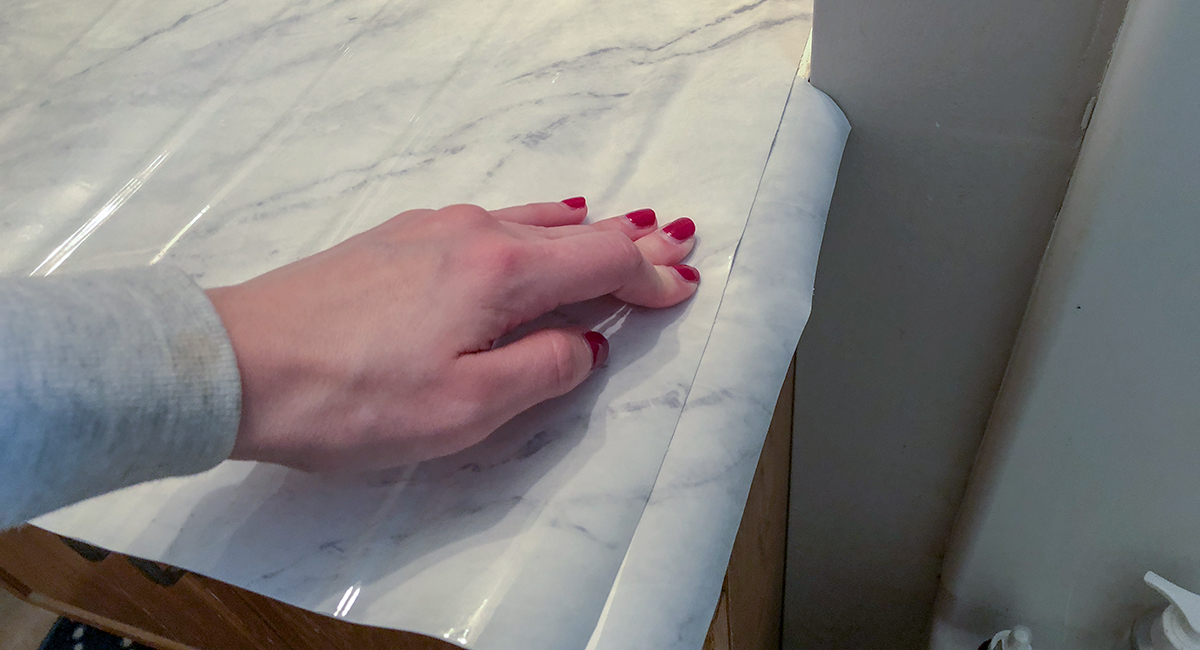
Start in the inside corner.
Work very slowly outward, only peeling back small amounts of the underlying paper. Then work the contact paper down with a flat plastic putty knife to avoid any bubbles. You could probably also use a debit/credit card, a pancake flipper, or a piece of cardboard from your most recent Amazon purchase. Get creative!
5
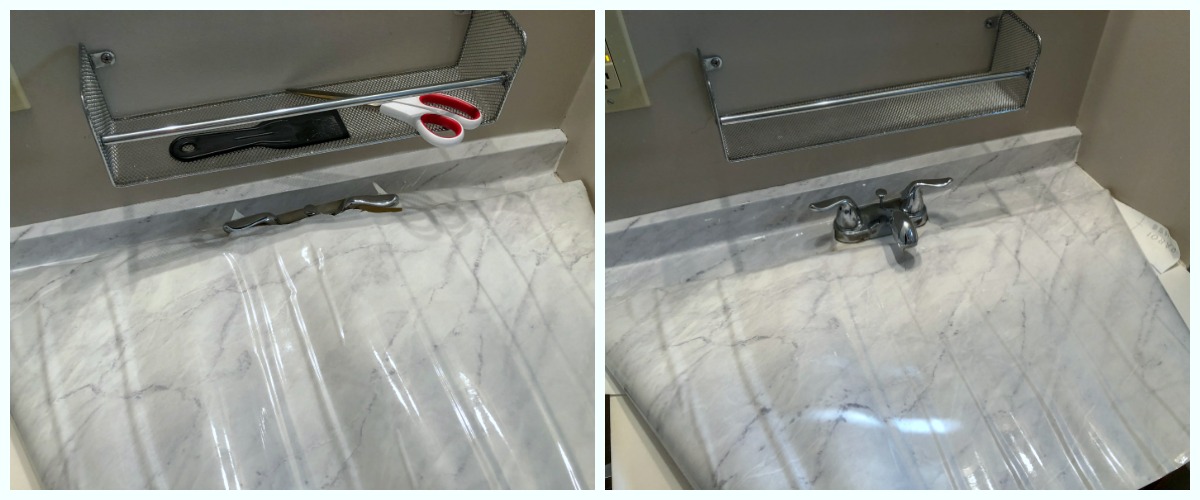
Cut out the faucet area.
You’ll see from these pictures that I left the faucet fixture intact (other tutorials specify to remove it, but I seriously don’t have time or expertise to do that). To begin with, I sloppily cut out an area so the faucet could pop through, and I planned to work on trimming that area last. Do yourself a favor and use an X-acto knife.
6
Mistakes are inevitable – fix them as you go.
An example? As I was working my way down the counter, I realized I was off-center and the vinyl wasn’t touching the starting edge, so I trimmed a piece from the roll with the marble veining angled in the same direction as the rest of the counter. Then I laid that down where the main piece wouldn’t reach so the rest could overlap. Honestly, it was such a small area, it really wasn’t noticeable at all! Granted, you might not be able to get away with this if you’re using a lined or repeating pattern, but it works really well for this pattern.
7
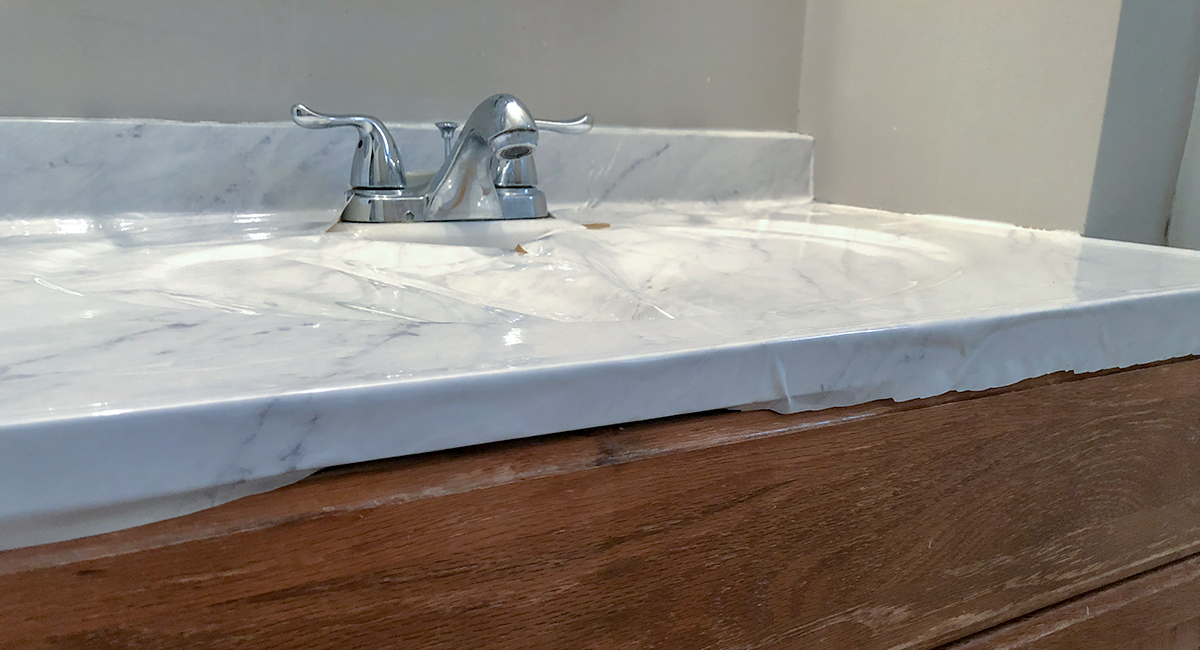
Remove the excess paper and roll underneath the countertop edge.
This was probably one of my favorite parts, not only because I was so close to being done, but it didn’t require a steady hand or precision. No one’s going to see those choppy cut lines from trimming the edges since it’s rolled underneath the edge of the countertop.
8
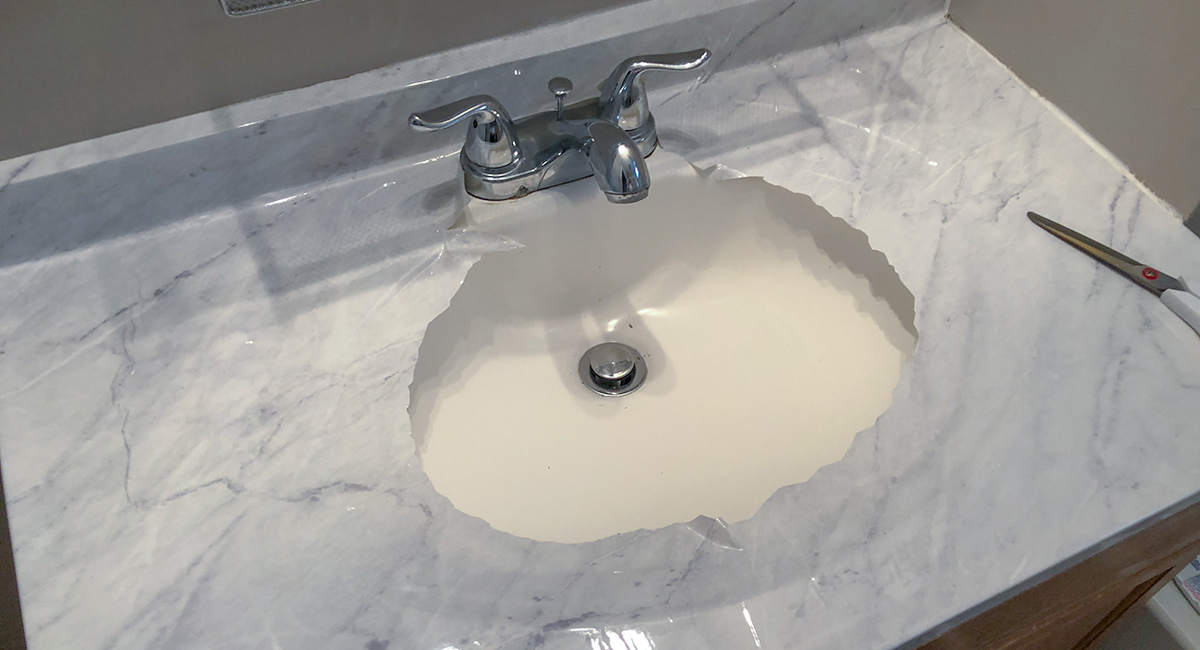
Don’t forget there’s a sink under there!
I cut into the center of the paper covering the sink basin using scissors and worked it around to get closer (but not all the way) to the edges. Again, the X-acto knife is the way to go here for the precision edge.
9
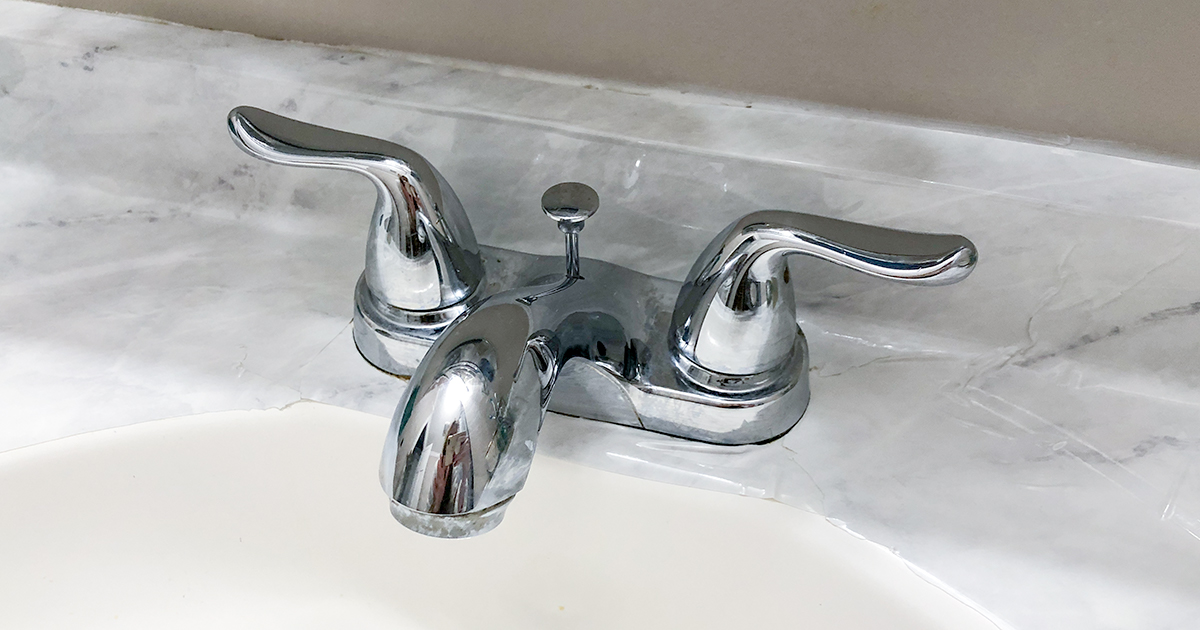
Trim around the faucet.
If you don’t remove the faucet, you may need to add some small pieces of contact paper (similar to what I did for the edge that didn’t reach) to make sure everything is covered. Either way, it’s going to look a trillion times better.
Hip Tip: Err on the side of more versus less so you can make sure the paper exceeds all edges.
And voila! Guys, it’s DONE! Is it perfect? Absolutely not. Did I think it was going to take me an hour and a half? Absolutely not. Was it worth it? Absolutely!
To jazz up the counter even more, I bought a new soap dispenser and toothbrush holder to finish off the look. Oh, and if anyone thinks I care that the gold accessories don’t really match the silver hardware, I don’t. They’re really pretty on their own and they were on sale. 😊
My final thoughts: This project turned out just as nice as I thought it might, though it did require more effort than I imagined. It probably would look a lot cleaner on a countertop where the sink has a bit of a lip around it instead of being one smooth piece that flows into the sink basin, but I’m working with what I have.
Also, I have a TON of paper left, so I’m going to search my apartment for more user-friendly (read: completely flat) items I can refinish next. We just had the kitchen redone, though I’m sure this would be amazing on kitchen counters. Come to think of it, I do have a few scratches on my coffee table 🤔 …
Have bathroom tile that could use a refresh? Check out this budget-friendly solution!

Great job! It’s nice to see an update that doesn’t include a major replacement and that doesn’t cost way too much.
So glad you enjoyed the contact paper tip, Sharon!
I LOVE THIS!!!! Thank you for sharing!!!!! I am going to do This as soon as I can! What a great not permanent solution! It’s just me, and I would love yep have a bright cheerful colorful sink! I’m going to see what fun patterns I can find!! Thank you again!!
Love that idea, Jessica! Enjoy shopping for a fun design—let us know how it turns out!
That is some really cool stuff. I will have to try this.
Awesome! Hope you love it too!